Edited by my beloved friend K.L
On several occasions, I would receive a question about the art supplies that one would need to start as a professional illustrator. (So I wrote this blog post in hope that it could give you some useful elements to find your most suitable answer for yourself).
Once upon a time… an unanswered question
I remember a convention in Vietnam a few years ago, when the first wave of made-in-Vietnam comics being published thanks to the participatory funding system. For the first time, the young public who are passionate about drawing could meet in person the artists from all over the country, the very people who were doing their dream job, in real life.
Eventually, the question about art supplies was brought up to each speaker. In response, the president of the convention at that time only gave a general answer: “This is not the right question to ask. Please start with the materials that you already have!”
This answer is rather encouraging, in a sense. And I totally agree that the equipment is not a barrier to starting to draw.
Yet… being part of that audience at the time, I feel that the majority of people who brought up that question already knew how to draw to some extent. They were not looking (naively) for a magic tool that would turn them into a successful artist overnight. What they were looking for was feedback or lived experiences of some sorts. They were curious to know if there were any essential material requirements that would distinguish a professional from a hobbyist artist.
Spoiler alert: No, there are no material requirements.
I guarantee you so, because I myself just went from being a hobbyist to a professional illustrator about 6 months ago.
However, I am aware that it is also true that sometimes, the quality our final illustration products is not up to our expectations because of the materials. Though on the other hand, not everyone has the resources or the opportunity it takes to test as many art supplies as possible before embarking on a new career.
For this reason, I intend to write two blog posts where I would give you the list of my 2022 art supplies, at the very beginning of my career:
- One blog post about traditional illustration art supplies (this one)
- One blog post about digital illustration materials (coming soon)
In these blogs, I will only make a list of the equipment that I used for the professional projects that I did for my clients.
I will share the year and the context of how I got my hand on each piece of equipment as well as give some discussions about why these art supplies continue to accompany me to this day.
* Some links in this article are affiliate links. You can click on it to directly consult the technical characteristics as well as the reviews of other buyers. If you buy one of the presented materials, I will receive a small commission which will help to maintain the blog. *
Here is the table of contents, to facilitate your reading, rereading, and future research:
Watercolor palette
Let us start with the most obvious, the most expected material when we talk about watercolor supplies.
The original palette
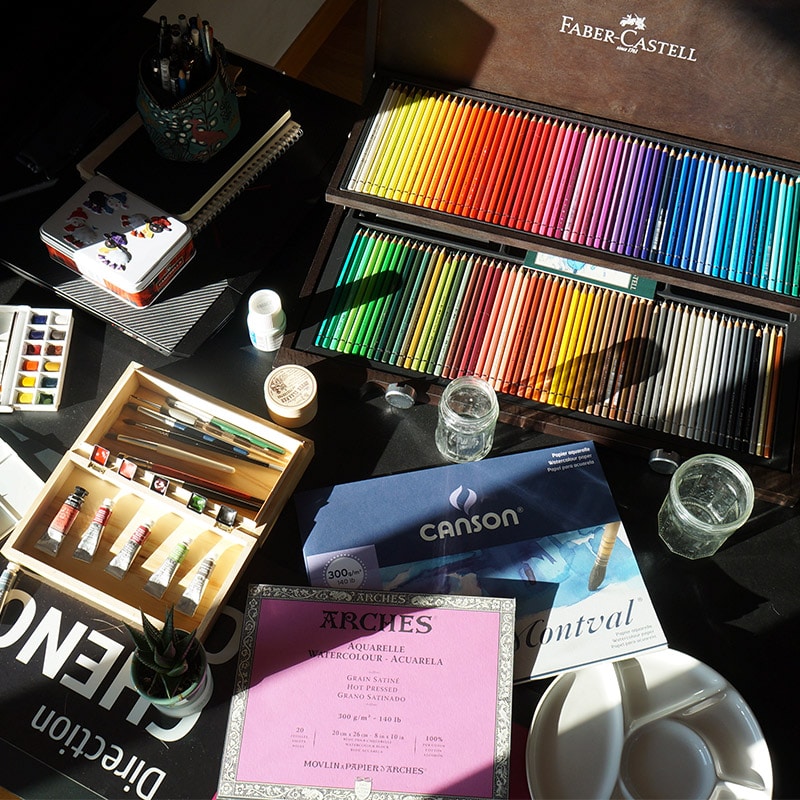
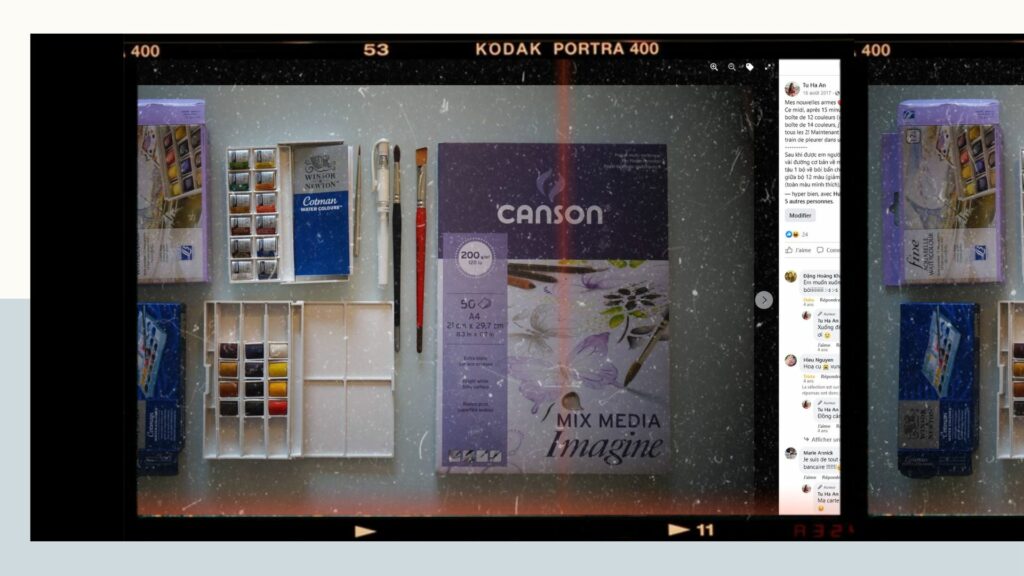
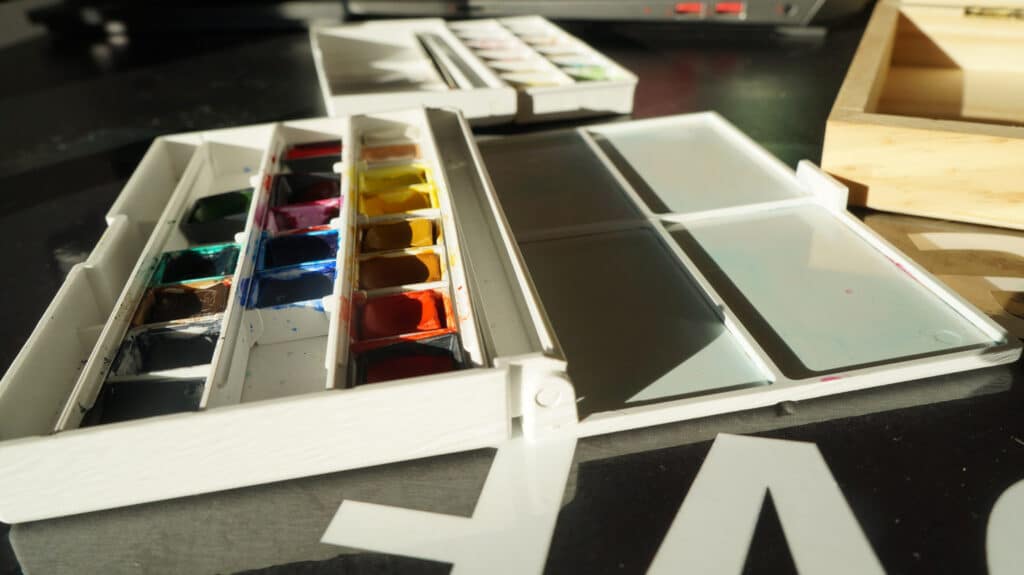
I use the Lefranc Bourgeois fine watercolor palette of 12 half-pans (link Amazon)
I bought this palette on July 18, 2017 to be precise. That was almost 5 years ago, give or take. At that time, my purpose was solely to test out the watercolor.
I still remember the date of my purchase because the memory of that day was still vivid in my mind when I proudly posted a picture of my purchases on Facebook after having sacrificed my lunch break for a quick trip to the nearest art store (which was still across the town).
Why did I not start learning with a cheaper palette?
Even though there were cheaper options with more colors, I still chose this palette for two reasons:
Firstly, in 2017, I already had a solid base in drawing, even if it was not in watercolor. That was the reason why it would be best for me back then to have a palette that would not put limit on how I could practice the more advanced techniques that I would like to learn.
Secondly, the 12 colors available in this palette are enough to make complete illustrations without worrying about mixing colors beforehand. This quantity is limited enough to not cause too much of distractions when it comes to colors choices but also make the process of learning how to mix colors later on easier for me.
Why is this same palette still being used when I become a professional?
There are 2 ranges of watercolor in general:
- “Fine” quality mainly for students
- “Extra fine” quality mainly for professionals
Even though mine is still only a “fine” watercolor palette, the colors are sufficiently pigmented, the transparency is well present, and the use is pleasant. The colors on the illustrations that I did 5 years ago, kept in a folder, are still vibrant until this day.
Since most of my creations are applied arts (i.e., to be used in brand identities or to be printed in magazines or on packaging …), my clients always require a digital version of my artwork. Therefore, I do not really need colors with the optimal degree of permanence and lightfastness like other artists who make exhibition of their original artwork a focus point of their career.
The palette that I bought has 12 half-pans colors in stock but it also offers places for 24 colors in total, so it is always possible to add more if needed.
In my case, after 5 years of use, I only emptied 2 half-pans from the original palette and refilled these containers with watercolor in tubes, this time with a preference for “extra fine”.
Watercolor in tube
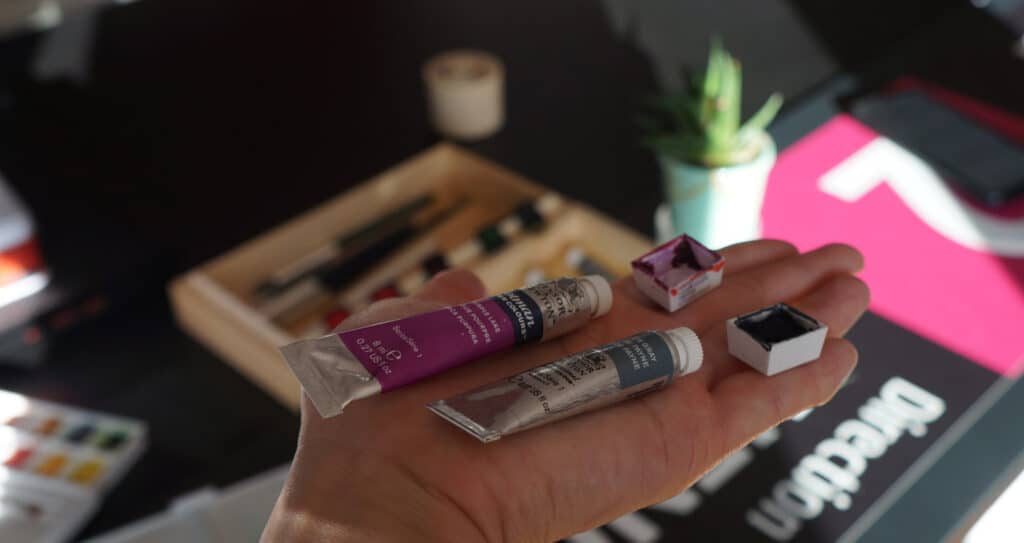
Throughout the years, I added to the original palette five new colors that I could not achieve by mixing the existing colors available in the original one, of which, two more in 2020 and three more in 2021. Each time, I opted for tubes of “extra fine” watercolor.
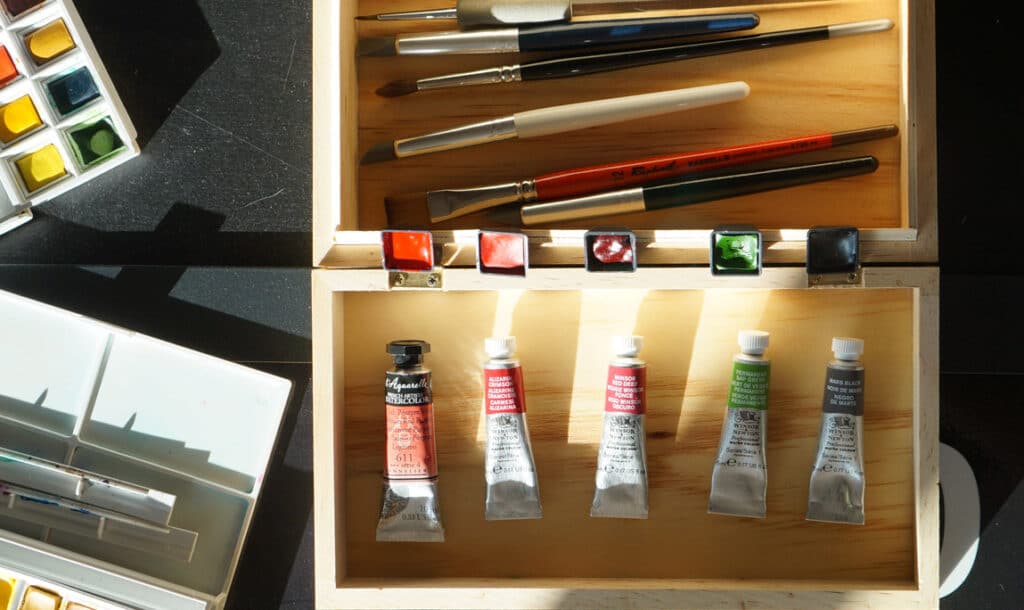
My tubes come mainly from the brand Winsor and Newton, which is always a sure value (link Amazon).
The last tube I bought was the Cadmium Red Purple one from Sennelier (link Amazon). It is by far the nicest watercolor I ever tested because of its texture and vibrancy. I do not think I will be needing another color anytime soon, but when a next time comes, I will go for Sennelier with my eyes closed!
All in all, five years ago, I had no idea that a watercolor palette could be with me from the first steps in watercolor to the first steps in my professional career like this.
Watercolor accessories
If the quality of the color is essential for a clean and neat result, the following tools, which are important by all means, should not however be the object of heavy investment at the beginning of the career.
Watercolor container
We can easily find empty pans/half-pans in art stores and on the Internet. (link Amazon)
One small detail remains: On the Internet, containers are often sold in large quantities (about 50). (please mind that during five years of practice I only added five new colors), and the pans sold individually at the art store are beyond my budget.
So I turned the keys of a broken keyboard into half-pans.
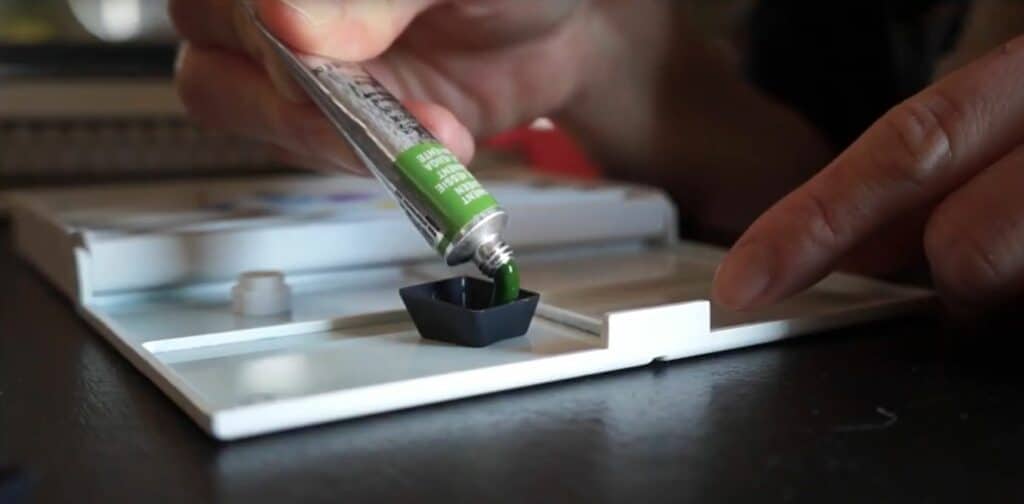
Some artists use plastic bottle caps as containers, others use empty shells.
Palette for mixing colors
My palette is a second-hand appetizer plate, for the price of 1 euro!
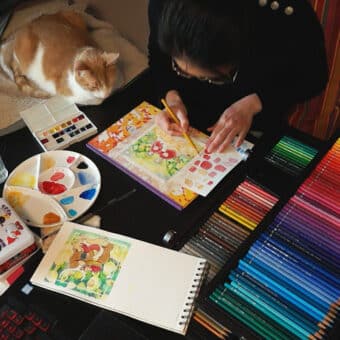
For a while, I used to use the plastic palette incorporated in the watercolor Lefranc Bourgeois lid, but once I taste the mixture in a porcelain palette, I simply cannot go back.
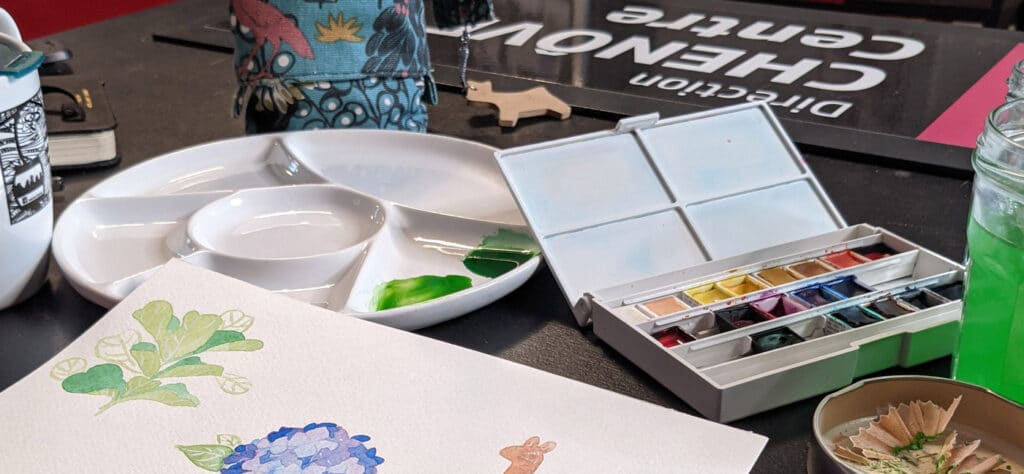
Porcelain palettes sold in art supply stores and on the Internet are almost as expensive as a watercolor kit. (link Amazon)
If you want to buy a porcelain palette, please find a holder with compartments (like appetizer plates), or several small holders (like sauce dishes). The white color is to be preferred because it will not distort your perception of the resulting shades.
Water container
I always use two glasses of water: one to wash the brushes, the other to mix the colors. I am among those people who just hate seeing the colors in pans losing their purity.
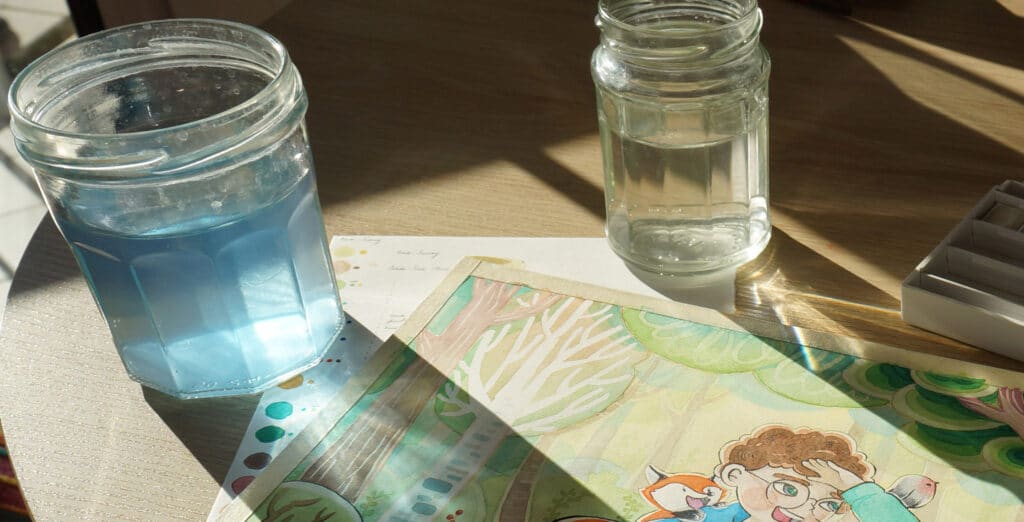
Any type of container will work for both uses. I personally use empty jam jars for the transparency of the container. I like to see right away when the water needs to be changed. We also have less risk of confusing the jars with our drink. 😉
Brushes
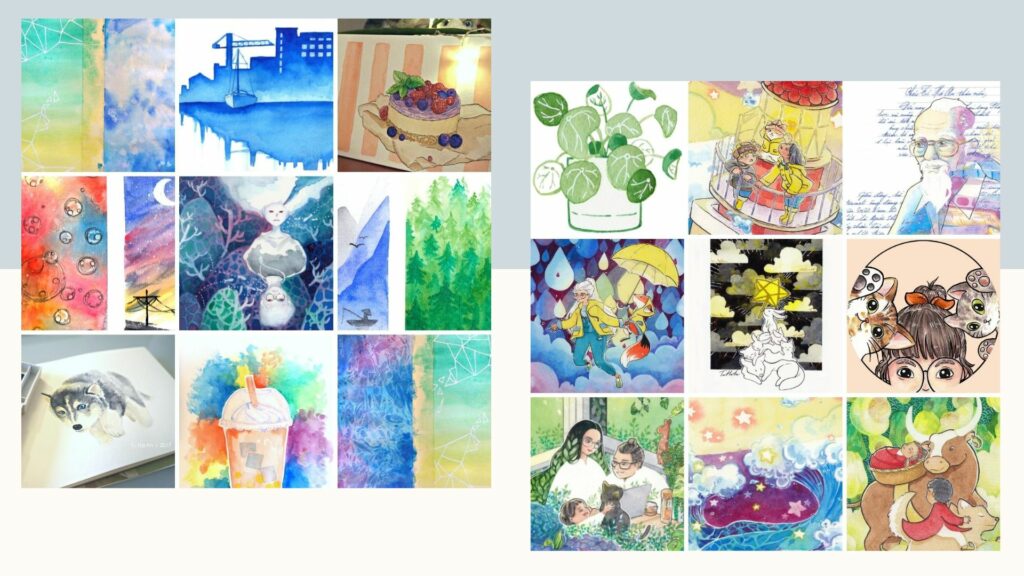
In the photo of my first watercolor purchase in 2017 above, you can see three brushes of three different sizes. Since that day, truth being told, I always have the same number of brushes.
Main brush
Squirrel Round “petit-gris” 8383 Raphaël 6 (link Amazon)
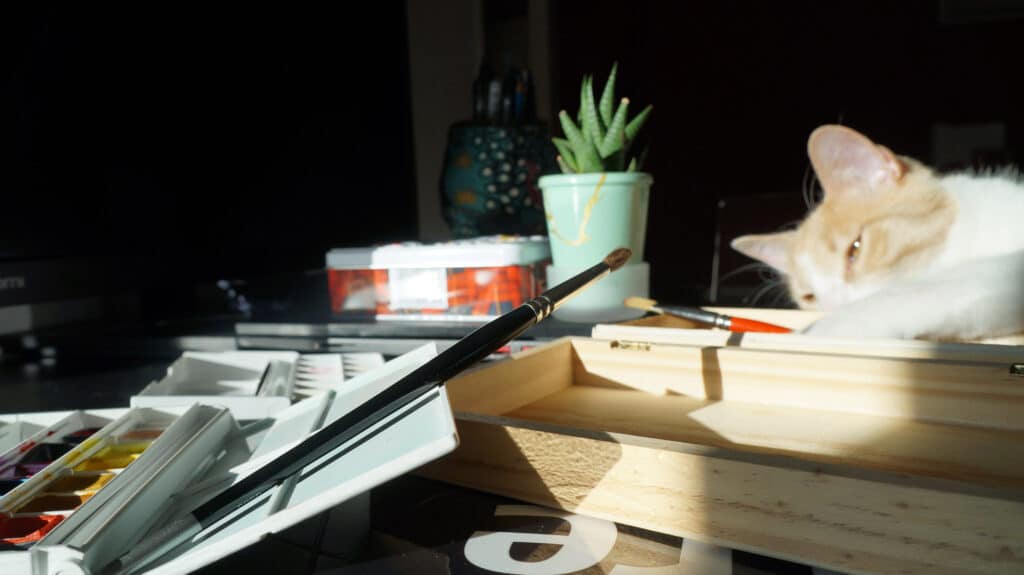
This brush is the most versatile brush. As I mainly draw on A4 and A5, I can use it on large and medium surfaces. The tuft of this brush once soaked in water would form a fine tip, making working even on small surfaces also possible.
Brush for large areas
Raphael Kaerell 12 (link Amazon)
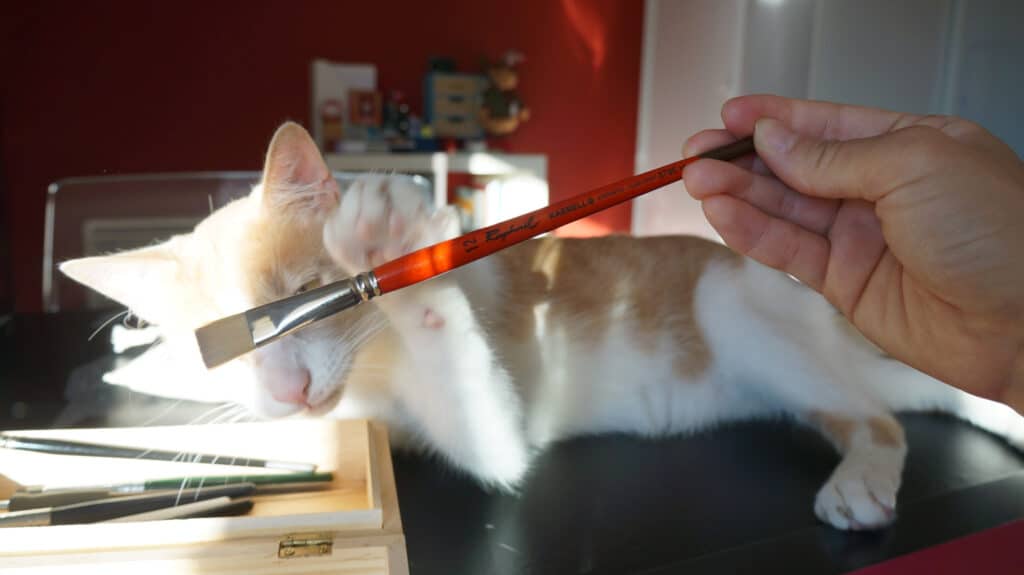
I mainly use this brush for washes on backgrounds.
Brushes for precision touches
Originally, I used the pocket brush provided in the Sketcher’s pocket box W&N – Cotman 12 1/2 pans (link Amazon)
It was very handy to make fine details. Unfortunately, I unintentionally screwed it up by using it to spread drawing gum (I will tell you more about this just a bit later).
Because of this incident, in 2018, before my very first Inktober, I bought a new brush to do finer details than my main brush is capable of.
I opted for the brush Galaxy – Manet 6 (link Creastore)
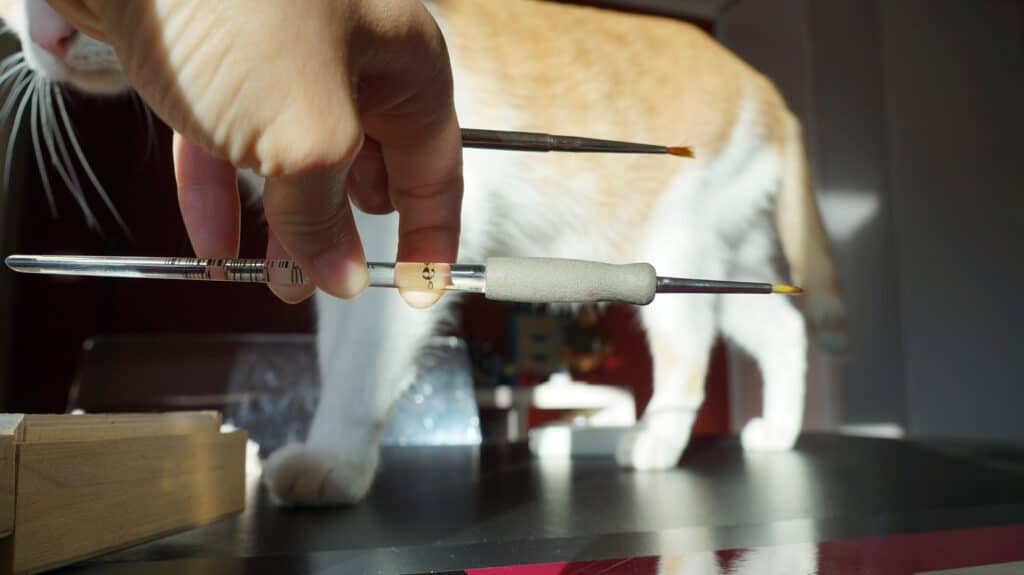
This brush is much more ergonomic than the old one. Brushes for fine details often come with a very thin handle, making it harder to grip, however the Manet brush has a foamy part on the handle that makes it rather easy to hold.
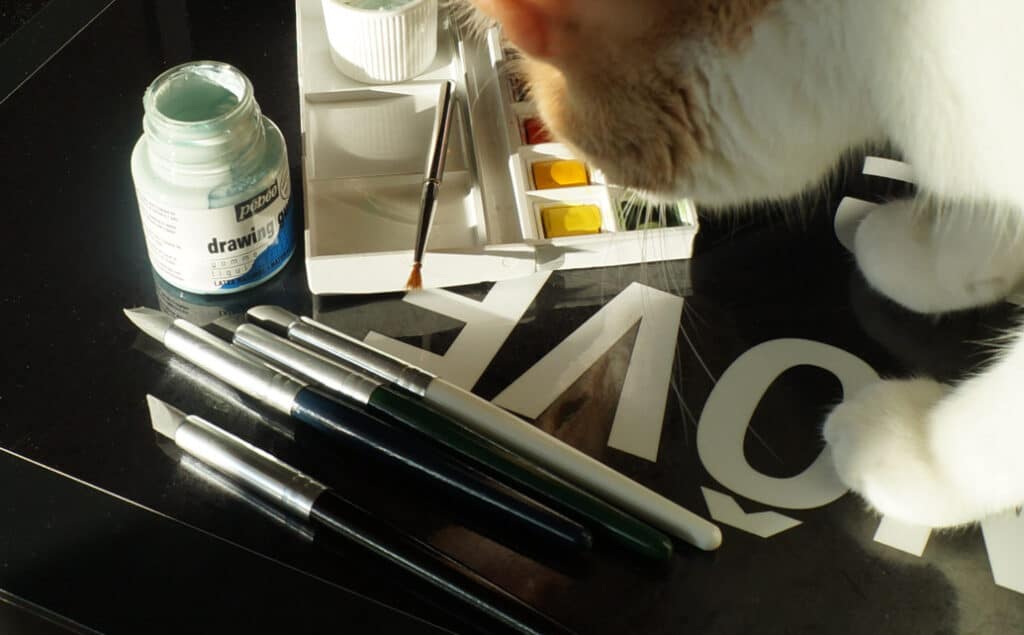
Its bevelled end is also perfect for peeling drawing gum.
To make sure that the brushes can stay with us as long as possible.
It goes without saying that brushes are my best allies in each creation. That’s the reason why I take care of them from day one.
And here are my tips to extend their longevity:
- Never soak the brush in the glass of water so that the tip would not be crushed and water would not seep too deep into the handle.
- Always dry brushes horizontally so that water would not get into the handle.
- Once a month, wash the brushes with specific soap. I use Master’s Brush Cleaner and Preserver (link Amazon) to remove all paint residue on the brush hair and to preserve the tip of the brush tuft.
Drawing gum
I use the drawing gum laminated 45ml from Pébéo. (link Amazon)
This product is ideal to keep white space on illustrations. It is applied with a brush and removed by rubbing on it once the paint is dry.
I bought a drawing gum in 2018, the same year that I killed my Winsor and Newton brush. The liquid dries quickly and sticks to the brush hairs. The tip gets damaged from that very first use and did not ever come back to its original state again.
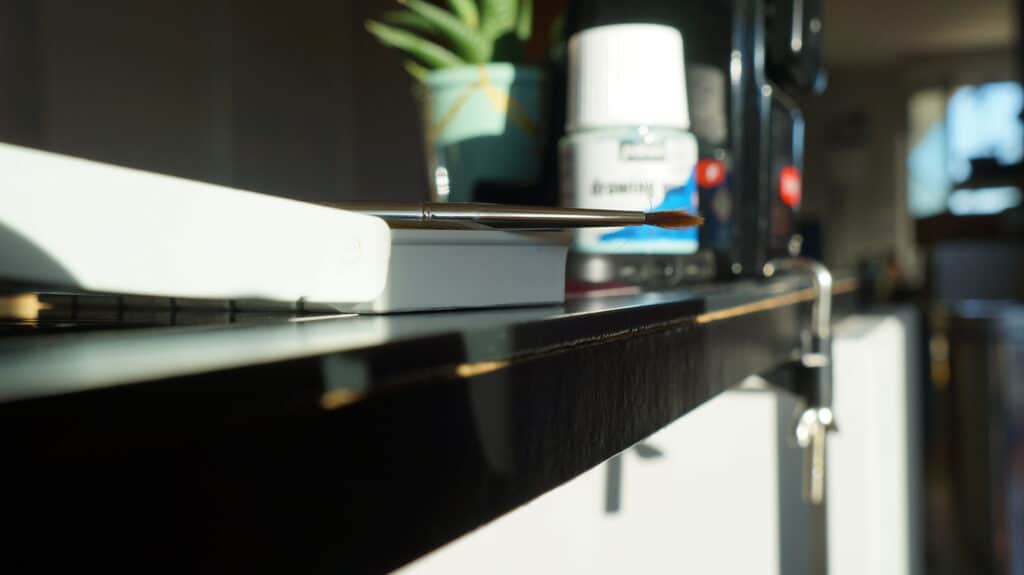
To avoid making the same mistake as mine, you can apply drawing gum with the silicone brushes for sculpting. (link Amazon)
Paper
For professional projects, I always opt for the best values:
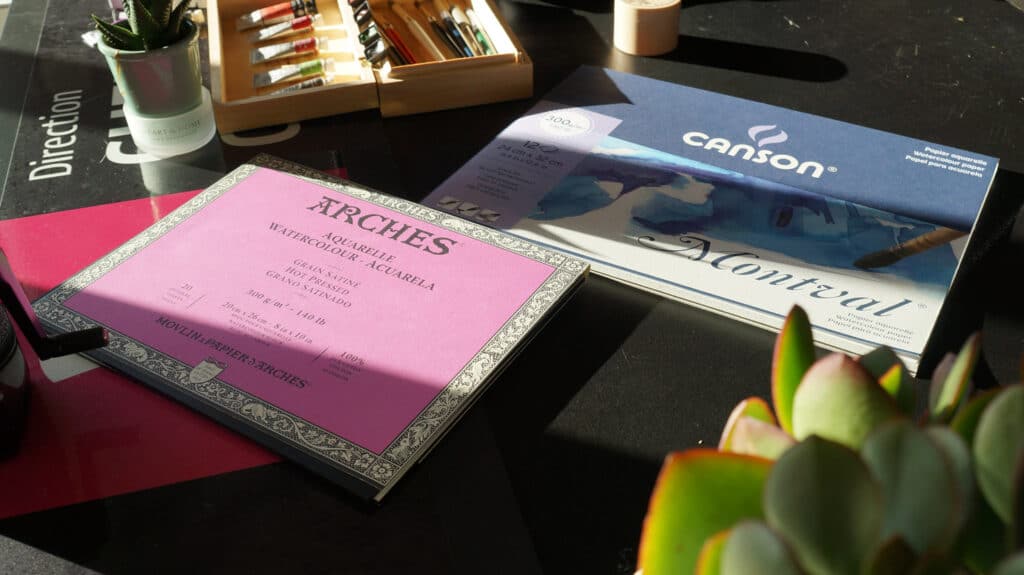
- Arches 300 g/m² Grain Satiné (link Amazon) I bought my first block in 2019, the time when I was incubating a big project of my dream. The purchase was thought over and over for weeks before I made the move because Arches paper is very expensive. Unfortunately, the project did not come to life. Nevertheless, this paper block is one of the best investments that I have made for my career. I am still on my first pad, as I use it exclusively for professional projects.
- CANSON Montval, 300 g/m² Grain Fin (link Amazon) I bought my first block of CANSON Montval in 2021 with the gift card that my former colleagues gave me for my departure to the new career. I took this opportunity to test a fine grain cold press paper, as I have always been drawing on satin grain since the beginning. Truth is from the first brush stroke, I wondered why I waited so long to taste this happiness. I am still on my first block.
Pencil
I use only one pencil for sketching: the same 0.7mm Stabilo pencil I used when I was 17 years old, given to me by a very dear person at the time.
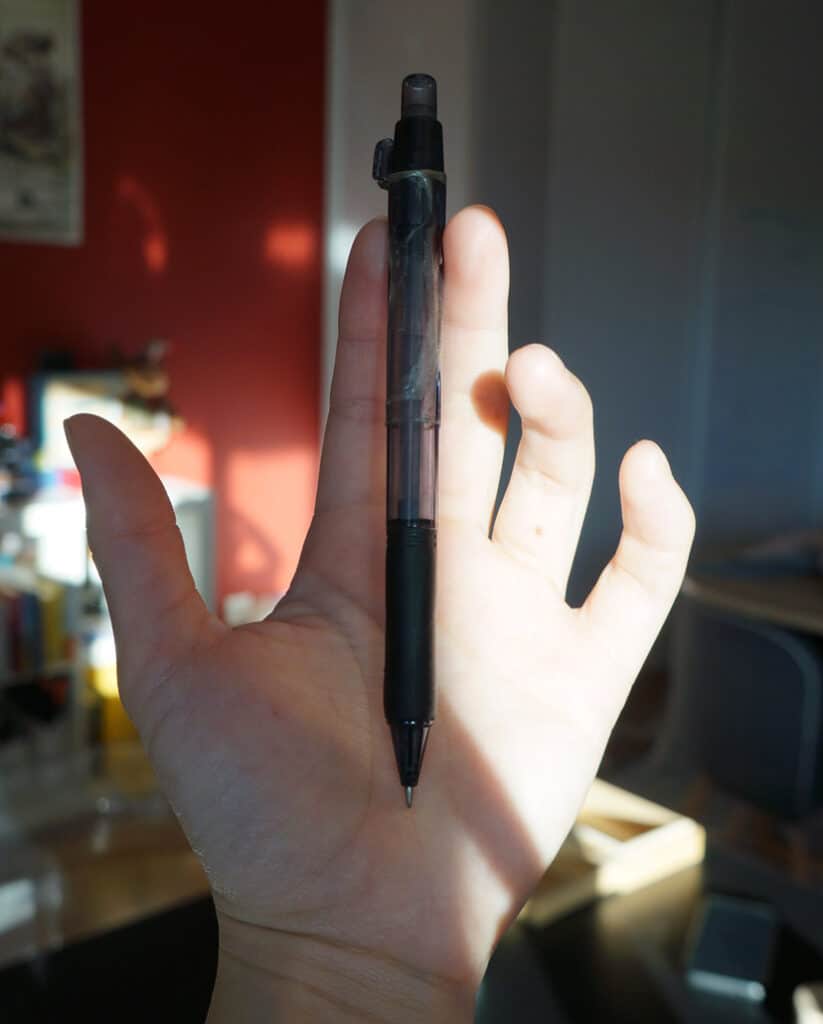
I have been keeping this pencil by my side since 2010 till now for its sentimental values, despite the breaks on the sleeve caused by some unintentional shocks. But above all, its weight, its diameter, its grip area, everything is perfectly adapted to my small hand.
Pen for inking
Since I ink before coloring, I have to make sure that the ink in my pens is waterproof. Here are my elites:
- Uni-Pin Fineliner 0,05 and 0,1 (link Amazon) to ink the details. First purchase: 2018, for my first Inktober.
- Uni-Ball Signo UM120 N Roller 0,7 mm (link Amazon) for the main inking. First purchase: around 2007, when I was still in middle school. The price of this pen was 10 times more expensive than the Aihao pen everyone was using at the time, but I prefer having the guarantee that the ink would not stick or run on my drawing. Its transparent handle allows me to monitor the level of ink left as well. On the side, I love the way the ink shines and glides on the paper.
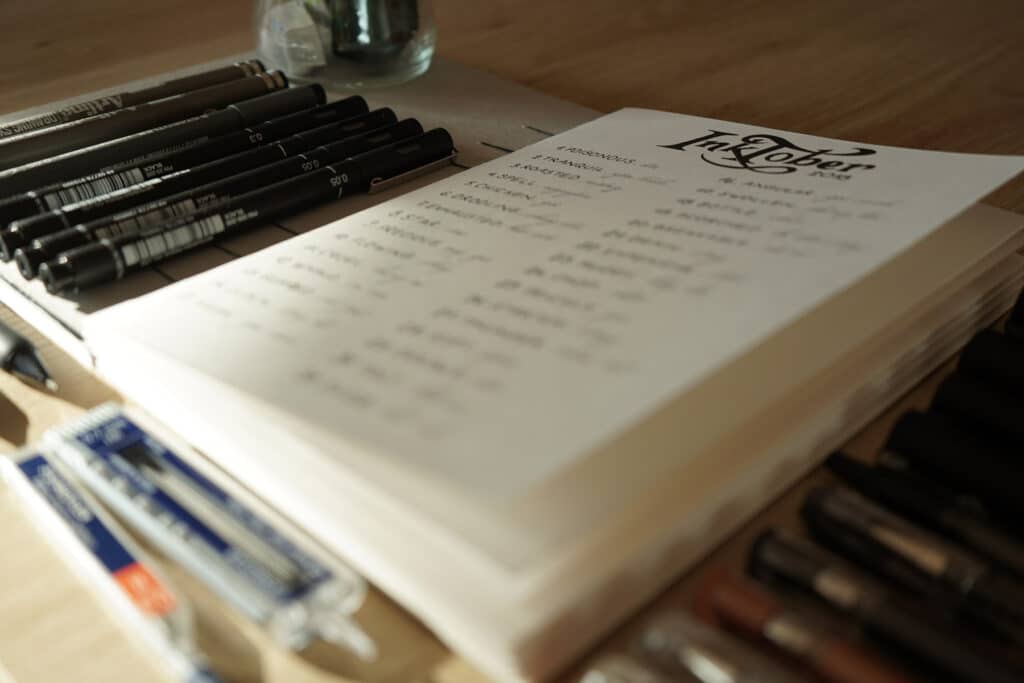
I cannot remember how many pens I have bought since the first purchase. As soon as I empty one of them, I would buy the exact same one again since their quality is perfect for my practice.
Watercolor pencils
I use watercolor pencils to “ink” the areas I don’t want to have a visible outline on.
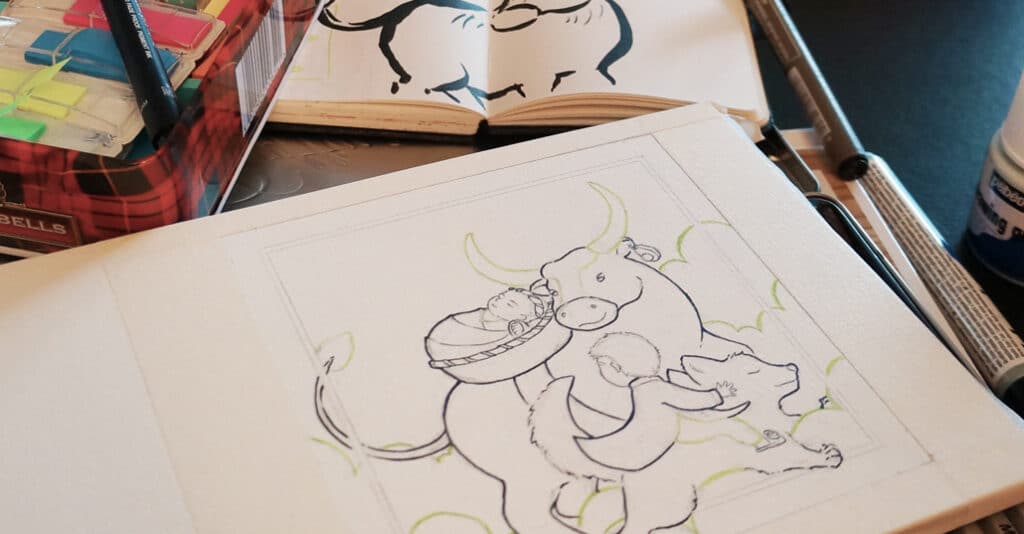
Watercolor pencils are also useful at the end to add details to the illustrations. Sometimes, I even replace the watercolor with watercolor pencils for practical reasons.
Here is my true “treasure” Faber-Castell 117513 Albrecht Dürer watercolour pencil, wooden box of 120 pieces (link Amazon)
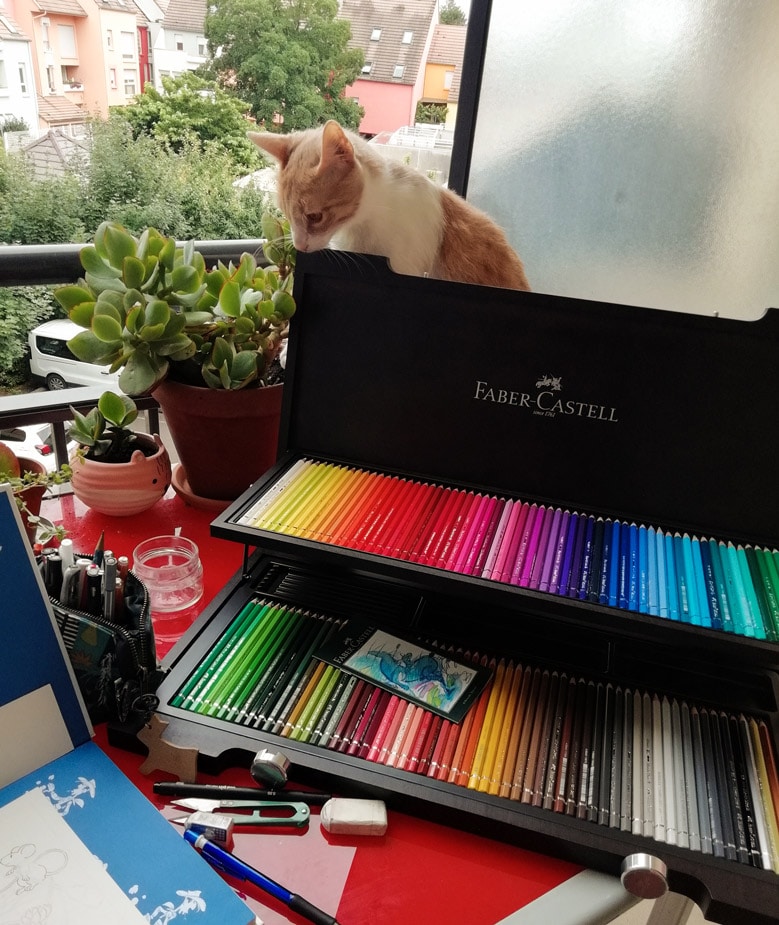
This box was a farewell gift that my friends in Lorient gave me in 2018. It took me by huge surprise when I opened the package. At that very moment, I realized that my friends had enough confidence in me to the point they would give me such a professional equipment, the best of the best. From that day forward, with every stroke of my pencil, I know I have their support in this journey.

My criteria
If you have been following me until here, you have probably noticed that the quality of the result is not the only criteria I would consider while choosing my art supplies. I also give priority to personal satisfaction during the process.
Illustration is an artistic work and also a service business on its own, hence we have instructions to follow, deadlines to respect and a variety of unexpected events to manage. Art supplies of good quality will help us avoid the stress related to the functioning (or the lack of thereof) of our working tools, and facilitate our workflow by improving the enjoyment that we have during the process of creation.
Indeed, if satisfaction is present throughout the creation process, we will not need to wait until the work is completely finished to feel happy.
Soon, I will write another blog post about my digital watercolor equipment, including tools that I use to digitize and prepare my traditional illustrations that are made on papers before sending them to clients.
Keep creating!
Tu Ha An
*Please consult the information on Copyright & Intellectual Property before copying or mentioning the content and images of tuhaan.com


